
I've done some woodworking--small projects, all--but, I've never done what I would call "construction". So, as with many other projects I have to get done up here, I embarked on something I don't really know how to do, relying on advice from friends, Google searches and YouTube videos: a wood shed.
First, I picked a location. Right next to our existing shed that holds the freezer, second refrigerator, and winter food supplies. We keep bird food in there too, along with other things we want access to with a short walk from the cabin door.
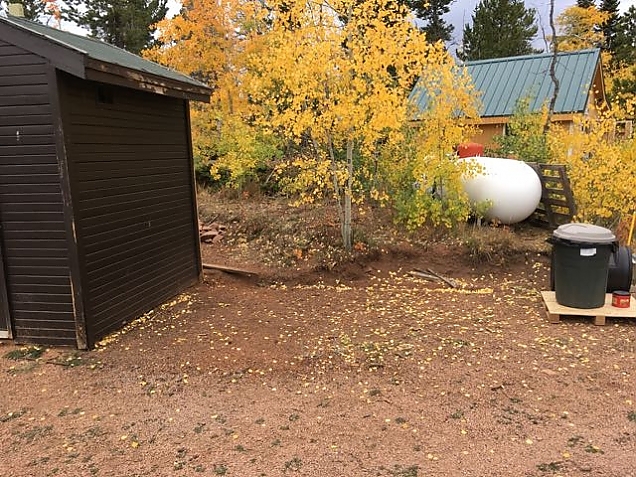
Shed location. This is looking south.
It will be (approximately) 7 feet deep, 12 feet wide, and built as a lean-to that is 7 feet high in front and 5 feet high in back. Of course, all good construction projects start with a detailed set of plans, drawn up with the help of a neighbor.
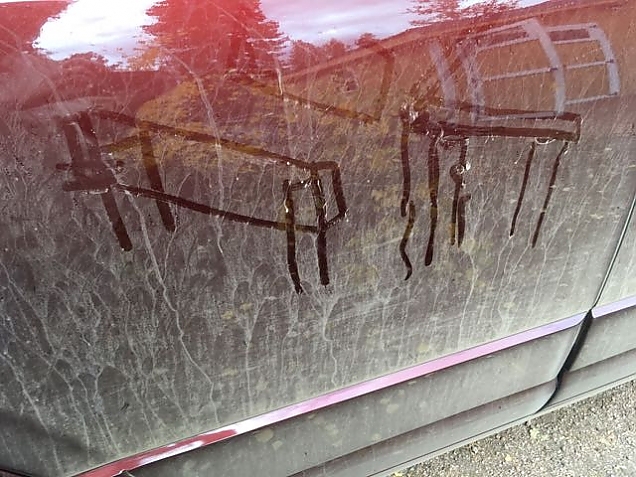
One reason to be thankful for dirt roads, I guess.
The plan is to set six 4x4 pressure-treated posts in the ground around which I can frame the shed. I have a manual post-hole digger, so started digging the holes as the first step in construction. I did okay on the two holes closest to the existing shed. But, the further I moved to the west, the harder the ground got. I finally gave up when I could not get more than a few inches into the ground. It felt like solid rock. So, on to plan B, which was to use pressure-treated 4x4 posts to build skids upon which I would then "mount" the shed. The trouble with that plan is the need to somehow anchor the skids to the ground. The common way to do that is with anchors that you auger into the ground and bolt to the skid frame. If I can't dig a hole, how am I going to auger the anchors into the ground? (It is important to be well anchored so the shed does not blow away in our 100 mph winter and spring winds.)
The answer came from a neighbor who offered to loan me his trenching machine.
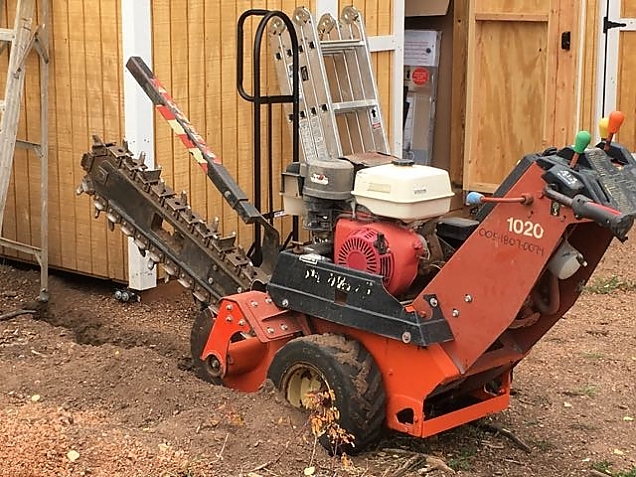
A borrowed trencher and "test" trench.
An astute observer will note that a trencher is for digging trenches, not post holes. But, I could dig a short trench with the deepest part right where I want the post! This trencher could go 24" deep and that is what I was able to do with the first couple of holes. I'd simply dig the trench, set the post, check it for location and level, fill the trench in while blocking the space right next to the post with some 2x4s, and then put some Quickcrete in the remaining hole next to the post! Voilá.
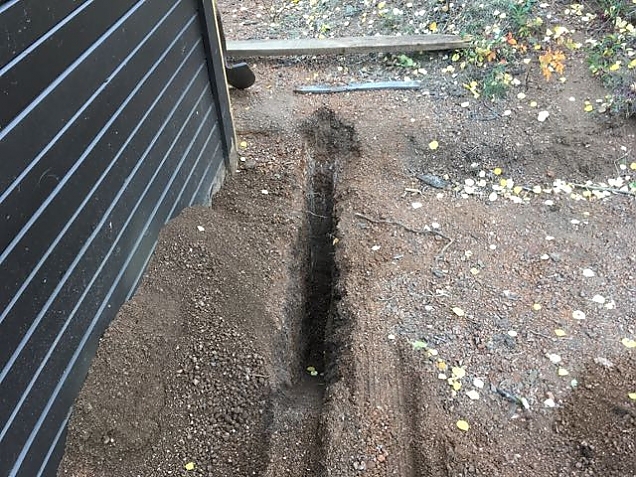
A post hole dug with a trencher.
I could not get as close to the shed as I had originally planned, but this solution was too elegant to care. I just slid the wood shed location over a few inches.

Rick, trenching hole #4.
It was a lot of work to get a trench deep enough where the ground was more rocky. I had to settle with 17" or 18" holes on the far west side. But, I think that will be fine given we set the posts in concrete.
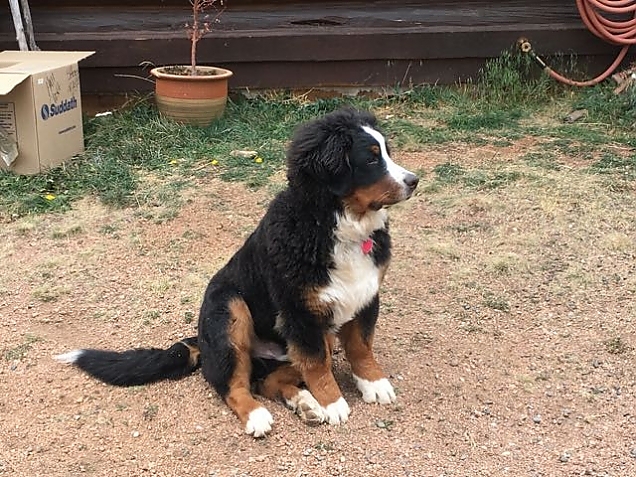
Destin, of course, is a big help. Especially with his love for fresh piles of dirt.
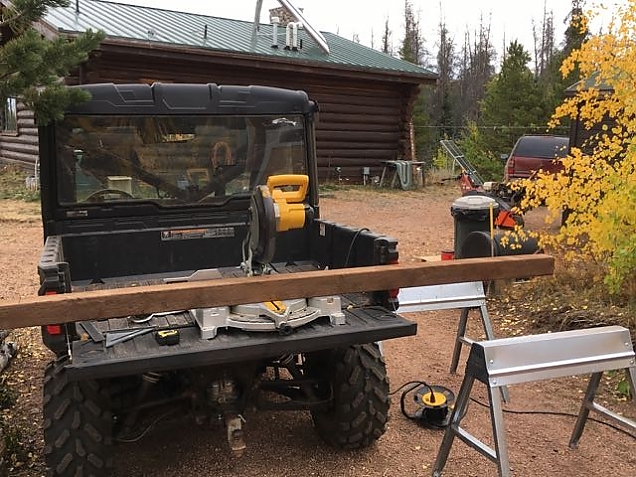
The bed of the Ranger makes a great work platform.
It was a bit of a challenge getting all the posts to the same height. And, really that is not the issue since the ground may not be perfectly level. The real goal is to get the top of the posts level with each other, the front posts about 7' high and the back posts about 5.5' high. Yeah, the wood shed grew some on the back end. I had three 10' posts for the front, and they were sunk into the ground anywhere from 18" to 24". And, there were three 8' posts for the back. I made a lot of measurements for trench depth and post height, and cut the posts accordingly. But, of course, they were not perfect and some needed anywhere from 1" to 4" cut off the top to make them level. However, with Lynne's help, they are pretty much exactly where they need to be to have a square and level wood shed when we are done. (What's an inch or two out of square going to matter, anyway?)
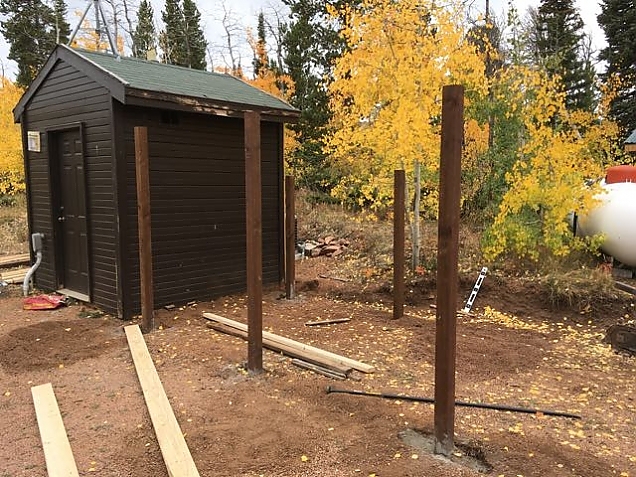
Here are 5 of the 6 posts set. (Note that the shed needs paint. Got to get that done somehow.)
To make these cuts and get the tops of the posts all level, I climbed on a ladder with the chain saw and made horizontal cuts. This is something my mother told me never to do. Chainsaws on ladders are a "no no"! Lynne gave me an earful when she came outside and saw what I was doing. Anyway, it worked and I'm still with all my arms and legs.
If you want to know how this wood shed turns out, you'll just have to click through for "More...".